
Kitesurfing safety rules for beginners: a practical checklist

Kitesurfing safety for beginners comes down to four habits: learn with a qualified instructor, wear a helmet and a vest, know how your safety systems work before you depend on them, and stay ashore when the wind or the space is wrong. The rest of this guide turns those four into checklists you can run through on any beach.
This guide covers habits, not technique. Safety systems, launching and self-rescue are skills you learn with an instructor beside you, and nothing here is medical advice. If you have a health concern, ask a doctor before you book.
Kitesurfing safety at a glance: ten habits
- Learn with a qualified instructor, not from videos.
- Wear a helmet and a vest on the water, and shoes on rough ground.
- Know your safety systems and test them before every launch.
- Run the pre-launch checks on lines, kite, harness, wind and space.
- Launch and land with a trained assistant.
- Keep the danger zone around kite and lines clear.
- Learn the right-of-way rules, and give way when unsure.
- Leave space, especially downwind and around swimmers.
- Respect weather limits. Wrong direction, too much wind or wild gusts: the kite stays packed.
- Share the beach, and never leave an inflated kite alone.
Before you launch: instructor, protection and safety systems
Learn with a qualified instructor
A kite is a power source, and the skills that make it safe are the hardest to learn by trial and error: reading the wind, using the release, launching and landing. KiteMood's Level 1 – Discovery teaches them in order. You start with the wind, hazards and safety systems, then fly a trainer kite (kite control, theory and safety without the power of a larger kite), then a 4/5-line de-power kite hooked into the harness. The level ends with the quick release and a self-landing.
Whichever school you choose, ask three questions:
- Who certified the instructors? At KiteMood, all are trained and certified by IKO, and lessons follow IKO guidelines (about the school).
- Can you reach the instructor, and how many students share one? KiteMood's lessons are radio-assisted, with a maximum of two students per instructor.
- Is safety gear included, and how are rescues handled? Ask before you pay.
Helmet, vest and shoes
In lessons the protective kit is provided: KiteMood supplies helmets and life vests along with the rest of the gear. Vests differ, with some built mainly for flotation, some for impact protection and many for both, so ask what yours does. The school also recommends shoes for beginners, because dead coral on a strip of rocky sand can be dangerous if you have to cross it. Protective kit is the last line of defence, not permission to take risks.
Safety systems: the quick release and the leash
Modern bars usually have two levels of release: a main quick release that sharply cuts the kite's power, and a leash release that disconnects you from the kite completely. The gear guide describes each part. Systems differ between brands, and manufacturers say they should be learned with a certified instructor, so have yours shown to you in person.
- Test it. Manufacturers advise a test activation of the quick release before each launch.
- Keep it clean. Rinse it with fresh water after use so sand does not build up.
On the beach: checks, launching, landing and the danger zone
Retailer and school safety guides often say that things most often go wrong on the beach, during launching and landing. Treat that as a reason for care, not a statistic.
The pre-launch checklist
Run it in the same order every time. Level 1 covers pre-flight checks, and your instructor will show you the routine for your kite.
| Check | What you are looking for |
|---|---|
| Lines | Slide them through your fingers: no knots, cuts, worn patches or tangles |
| Kite | Fully inflated, with no tears, leaks or damaged seams |
| Quick release, leash and harness | Test the release once, then connect everything exactly as you were shown |
| Wind | Cross or cross-onshore, and a strength that suits your kite and your level |
| Space | Clear ground downwind, nobody inside the danger zone, and a known edge to the riding area |
| Assistant | Someone trained to launch you, with the signals agreed |
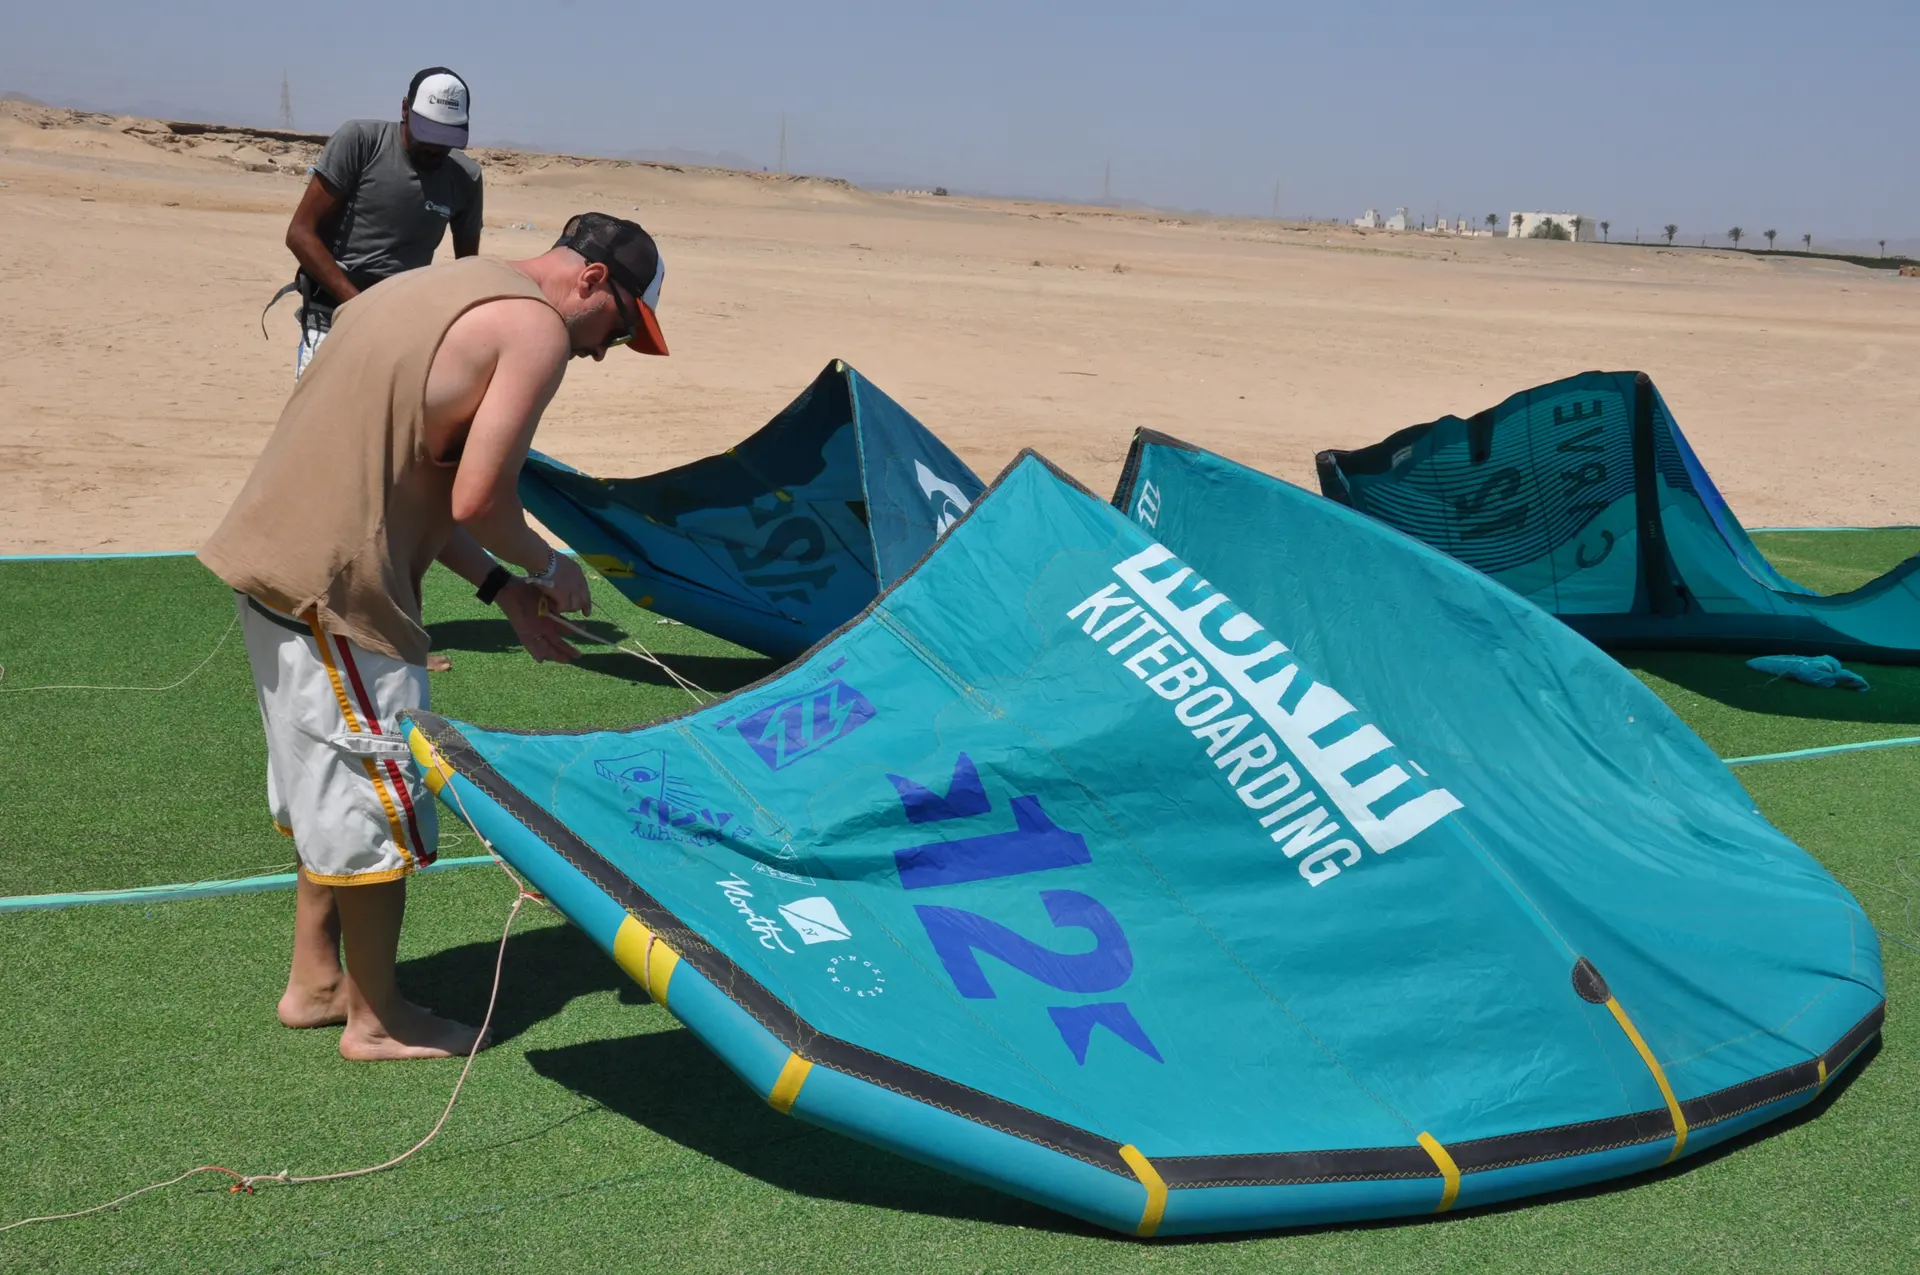
Launching and landing with an assistant
A kite is launched and landed by two people: the rider and an assistant. In Level 1 you learn to launch and land with an assistant, to act as the assistant yourself and to use the international communication signals, so each step is agreed without shouting over the wind.
- Check the space downwind first. Guidance ranges from at least two to at least three line lengths of clear ground, more is better, and your instructor's figure wins. With typical lines of about 20 m, that is roughly 40 to 60 m.
- Secure the kite as soon as it is down, and do not turn away while it can still catch the wind.
The danger zone around the lines
The danger zone is everything the kite and lines can reach: under the kite, to either side and, above all, downwind. Lines under load can cause deep cuts, and anyone standing there is at risk.
- Ask people to move before you launch.
- Never walk through the lines or stand between kite and bar while the kite could power up.
- Never wrap a line around any part of your body.
On the water: right of way, space and self-rescue
The right-of-way rules
IKO publishes right-of-way rules for kiters. These are the ones a beginner needs most, paraphrased. Rules get revised and some spots add their own, so your instructor teaches the current version, as part of Level 2 – Intermediate. Level 3 – Advanced, which makes up IKO's Independent group, adds riding among other water users.
| Situation | The rule | What you do |
|---|---|---|
| Heading out and coming in | A rider leaving the beach has priority over one returning to it | The wind over land is gustier, so the launching rider is at more risk: if you are coming in, give them room |
| Two riders approaching each other | The starboard rider (kite on the right-hand side) keeps their course | If you are the port rider (kite on the left), give way and pass downwind with your kite low |
| Passing | Kite height depends on which side you pass | Pass upwind of a rider with your kite high, and downwind with your kite low |
| Same direction | The slower rider ahead has priority | If you are the faster rider coming from behind, give way |
| Swimmers, waders and beach users | They have priority | Ride downwind of them: if you lose control upwind of people, the kite can drag you into them |
| Jumping | Keep a safe zone clear before you jump | 50 m downwind and 30 m upwind (a later skill) |
Learn to tell starboard from port on the beach with your instructor before you rely on that rule, and give way if you cannot tell. Priority is not a licence to crash: in busy spots riders do not always follow the rules, so make eye contact, decide early and give way when in doubt.
Leave space
- Downwind first. Keep plenty of empty water downwind, and stay clear of other riders' lines.
- Mind people on foot. Where the water is shallow enough to stand in, as in KiteMood's lagoon, expect people on foot in the water as well as on the sand.
- Know where the riding area ends. The school says the water is flat inside the reef, which is about 800 metres from the shore, and has small waves over it. Ask your instructor where to stay.
Self-rescue as taught in lessons
Self-rescue means getting yourself and your kit out of trouble without outside help. KiteMood's course pages build it in stages (see also IKO levels explained):
- Level 1: pull the quick release, activate the leash, recover the bar and kite, and land the kite by yourself.
- Level 2: re-launch the kite from the water, body drag (use the kite's pull to move through the water without a board), recover your board, and take a lesson on self-rescue itself.
- Level 3 – Advanced: a self-rescue and a full pack-down in the water, plus risk assessment.
Do not improvise any of this, and do not treat a leash release as an emergency button you have never pressed. Practise with an instructor, ask for help early and never kite alone. A refresher course helps if you have not ridden for a while.
Weather limits: when to stay ashore
No single wind number is right for everyone: it depends on kite size, skill, gusts, direction and the spot. That is why instructors check the real conditions on the beach and choose the kite for students. Once you ride without an instructor, that decision is yours, so learn the stop signs. The kitesurfing wind guide explains knots, gusts, direction and kite size in detail. In short:
- Offshore wind. Wind blowing from land towards the sea can carry away a rider who loses control, and some safety guidelines advise against lessons or rentals in it without a safety boat. The school describes its lagoon wind as cross to cross-onshore.
- An overpowered kite. A smaller kite with good depower is easier and safer than a big overpowered one. If you are torn between two sizes, a manufacturer's size guide suggests the smaller, especially when learning.
- Gusty, unsteady wind. The bigger the gap between steady wind and gusts, the harder the kite is to manage.
- Storms, too little wind or tiredness. Stay ashore when a storm is near, when the wind is too light to hold you upwind, and when you are tired.
A forecast is a guide, not a measurement. KiteMood's wind forecast page shows live wind from a weather model, which can differ slightly from the beach, so check the water and ask the team.
Sun is a safety issue too, because it can burn in every month of the year. The packing guide sets out the NHS sunscreen and cover-up advice.
Sharing the beach, and riding on after lessons
Etiquette that keeps a busy beach safe
- Set up and launch away from swimmers and sunbathers, where the school tells you.
- Help others launch and land when asked, and give beginners and lesson groups extra room.
- Never leave an inflated kite unattended, and keep the launch area clear of bags, boards and people.
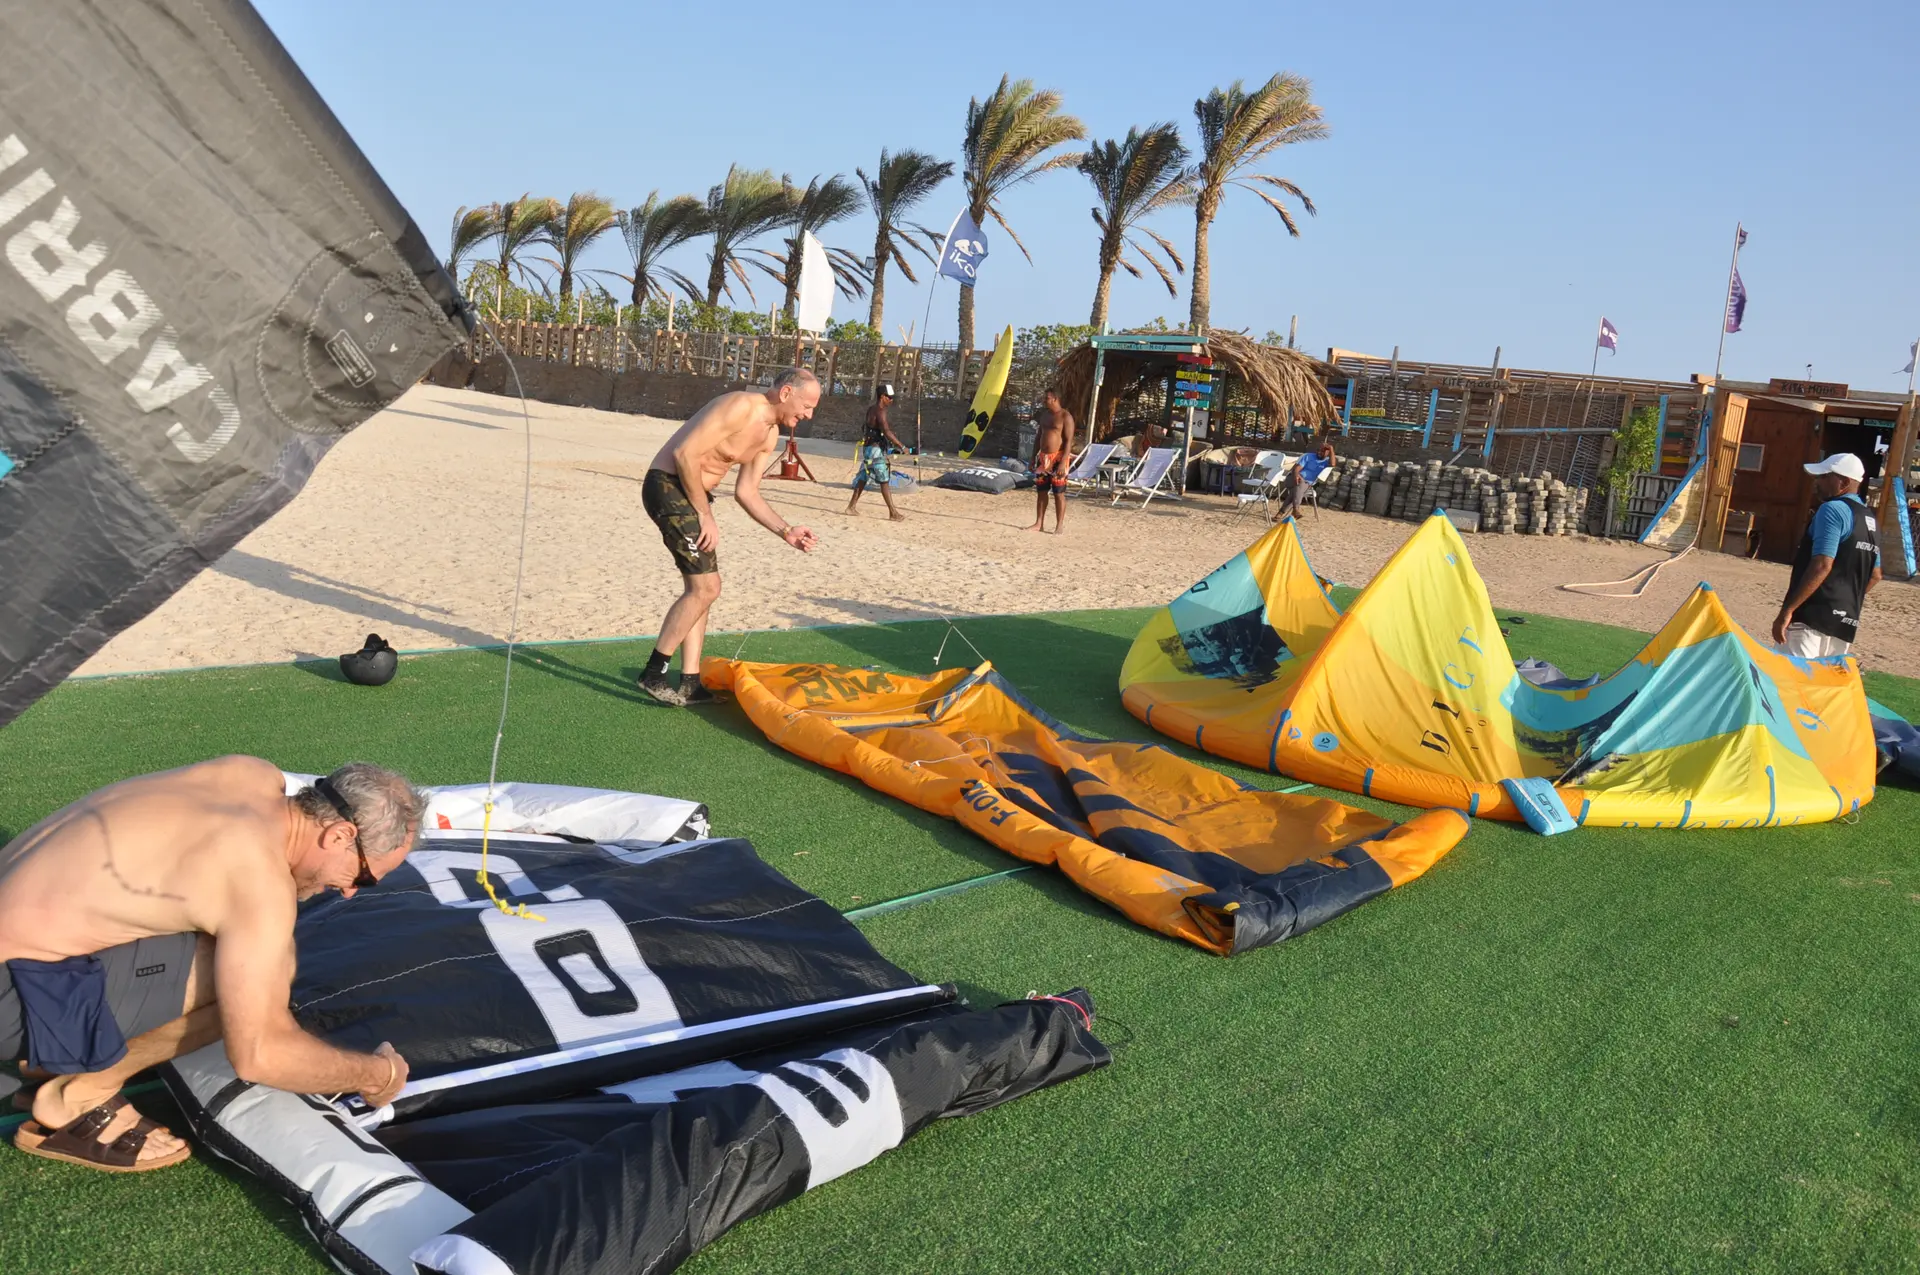
Renting after your lessons
Supervised rental needs IKO Level 2 including 2I: an IKO Assistant Instructor stays with you, with boat rescue on standby. Unsupervised rental is for independent riders who can ride upwind, with a deposit and rental terms. If you do not have your IKO certification (the IKO Kiteboarder Card / vCard), the school gives you a short assessment before you rent.


