
Kitesurfing equipment explained: every piece, and what to rent

Kitesurfing equipment is a chain that carries the wind's power from a kite, along its lines to a control bar, through a harness to your body and finally to a board under your feet, with a quick release and a leash built in so the power can be cut if something goes wrong. A beginner does not need to buy any of it: at KiteMood, kites, boards, harnesses, helmets, life vests, wetsuits and other gear are included in lessons, and rental takes over once you can ride on your own.
This guide follows the chain piece by piece, then covers what to wear, when to rent instead of buy, how to inspect kit and how to care for it in sun and salt. Your instructor's briefing and the manufacturer's manual always come first.
Kitesurfing equipment at a glance
| Piece | Its job | Beginner note |
|---|---|---|
| Kite | Catches the wind and pulls you | Most are inflatable; size depends on wind and weight |
| Lines and bar | Link the kite to you and steer it | You start on a small trainer kite |
| Harness | Lets your body take the pull, not just your arms | Seat, waist and vest types |
| Board | What you ride on | A twintip is easiest to learn on |
| Quick release and leashes | Cut the power in an emergency | Learn them with an instructor |
| Helmet and vest | Cushion knocks, add some flotation | Vests differ, so ask what yours does |
| Wetsuit or rash vest | Warmth, wind protection, sun cover | The school advises a long wetsuit all year |
The power side: kite, lines and bar
The kite
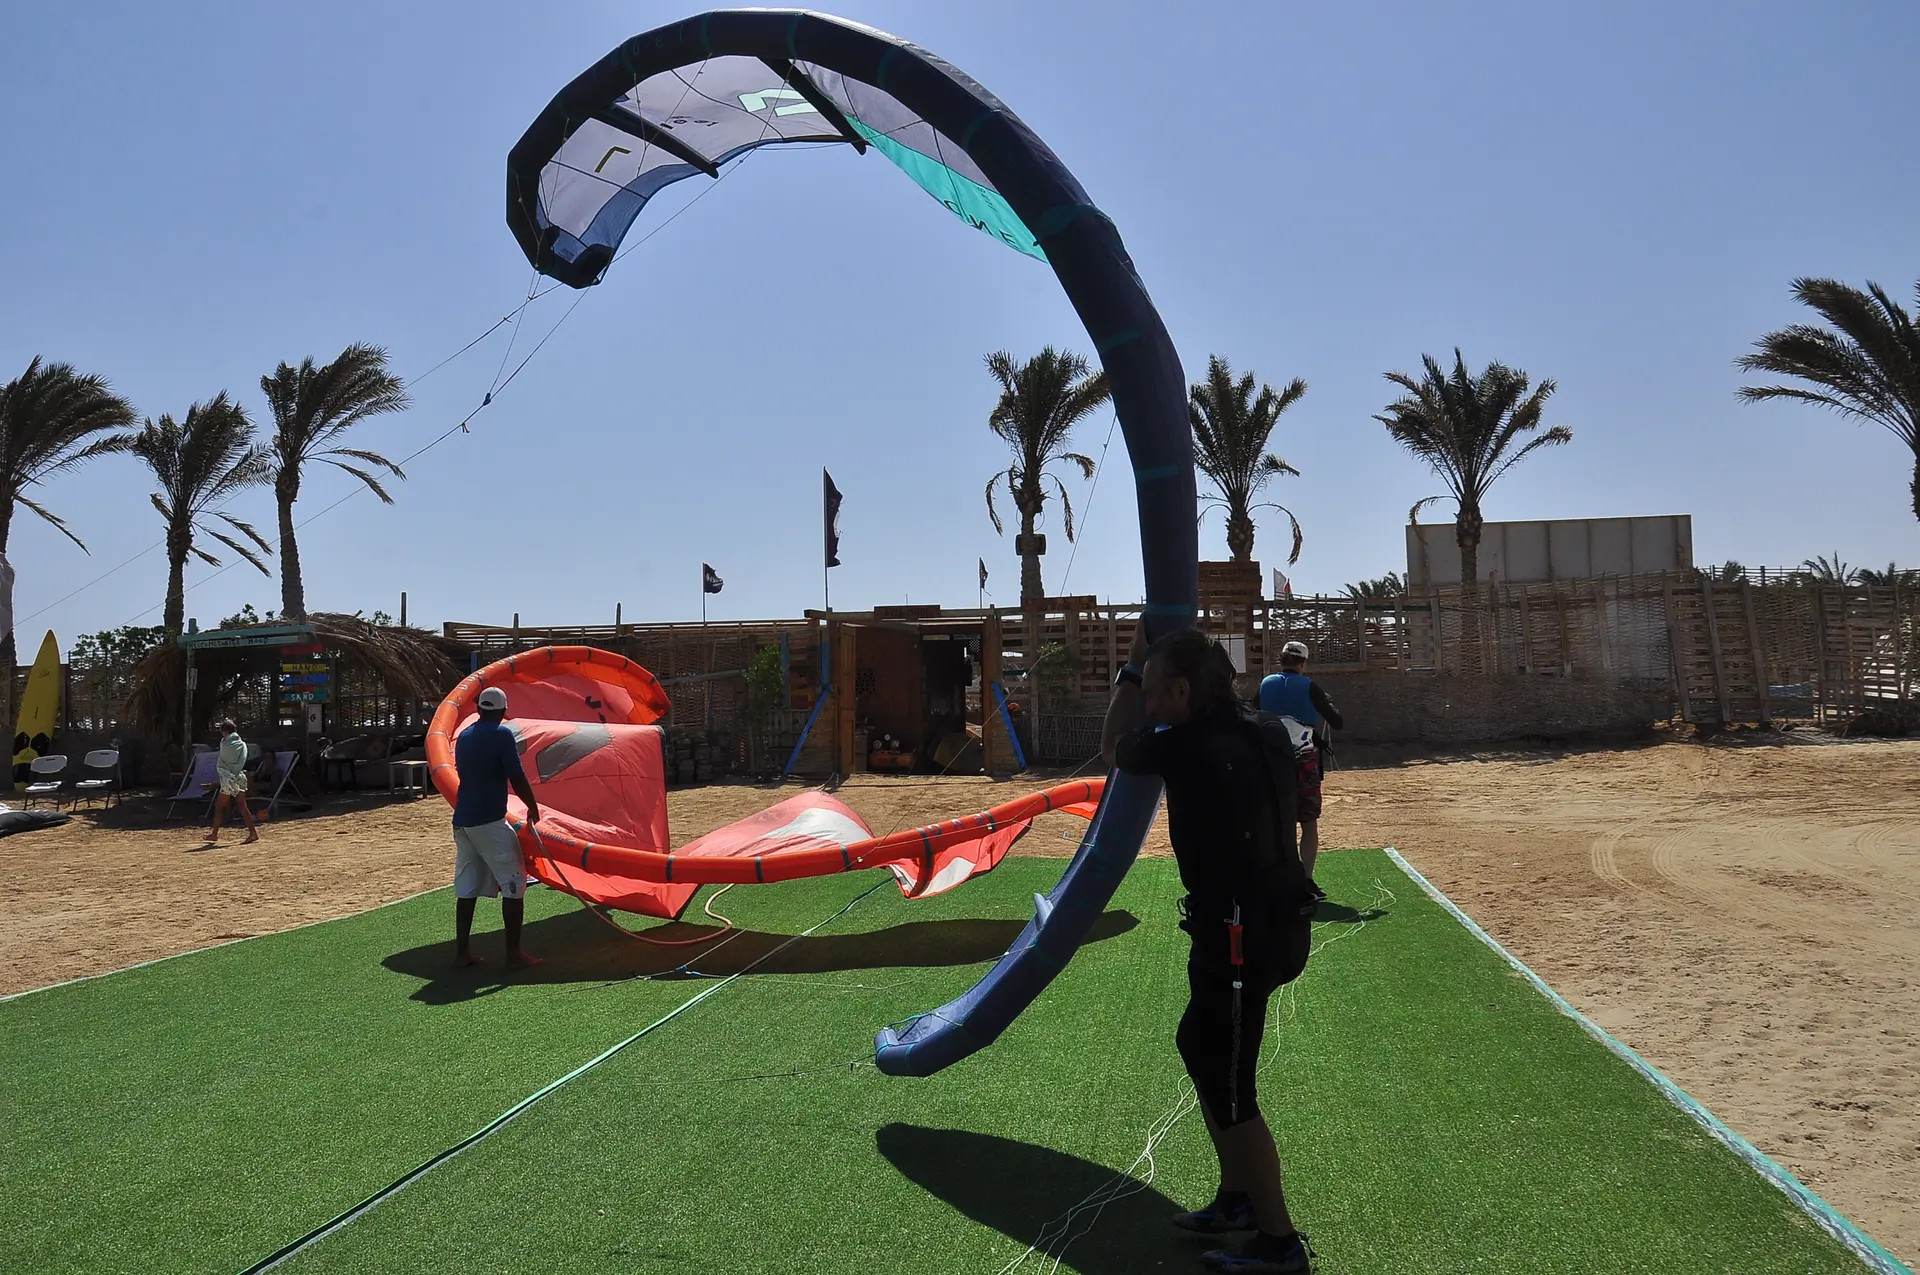
Most kitesurfing kites are leading-edge inflatables, or LEIs. You pump up the tube along the front edge, and the air inside gives the kite its shape and keeps it afloat if it lands on the water. They are the most popular type; foil kites, built like a paraglider, also exist. Bow kites, a newer LEI design, can be fully depowered, which means almost all of their pull can be released with the bar.
Kites are measured in square metres, from under 1 m² to 21 m² or more, and most riders own one to three, typically 7 to 12 m². The rule of thumb is that a heavier rider or lighter wind calls for a bigger kite, and stronger wind for a smaller one. One manufacturer's guideline for twintip riders weighing 70 to 80 kg lists 13 to 15 m² for 10 to 13 knots, falling to 7 to 8 m² for 23 to 28 knots. It is only a guideline: board, kite design and riding style shift the numbers, and the same maker advises the smaller size when you are torn between two while learning.
The wind guide goes deeper, and the wind forecast page has a rough size calculator. In lessons you never have to choose, because your instructor picks the kite for the day.
Lines, bar and hook
Kites fly on three, four or five lines. Four-line setups are common, and a fifth line helps with relaunching or adjusting the kite's angle. KiteMood's lessons use 4/5-line de-power kites. Typical lines are about 20 m long.
You steer by pulling one end of the bar towards you. The middle of the bar connects to your harness through a chicken loop that attaches to the harness's spreader hook, so the harness takes the pull rather than your arms. That is what instructors mean by being "hooked in".
Before any of this, lessons start on a small trainer kite, which teaches kite control, theory and safety without the power of a larger kite.
Quick release and leashes
Almost every bar has a quick release, a mechanism that sharply cuts the kite's power when you activate it. Modern bars work in two levels: the main release cuts the power, and a leash release disconnects you from the kite completely. A kite safety leash keeps you connected to the kite after the first release.
A board leash is a different thing. Some riders use one, but many schools discourage it because of the recoil risk, meaning the board can snap back towards you.
Makers say these systems should be learned with a certified instructor. At KiteMood, Level 1 ends with pulling the quick release, activating the leash, recovering the bar and kite, and landing the kite by yourself. The safety rules guide covers the habits that go with them, including testing the release before every launch.
The rider side: harness, board and protection
Harness
A seat harness has leg loops. A waist harness is a belt around your middle and the most popular type with advanced riders. A vest harness adds flotation and impact protection. All carry the hook the bar attaches to. If the one you are given digs in or rides up, say so.
Board
A twintip has a tip at each end, so you ride either way without turning it round, and it usually has foot pads and straps. It is the easiest type to learn on and the most popular. Directional, surfboard-style boards are used in waves. Hydrofoil boards lift above the water and are described as hard to ride but useful in light wind; see kitesurfing vs wing foiling and the foiling page.
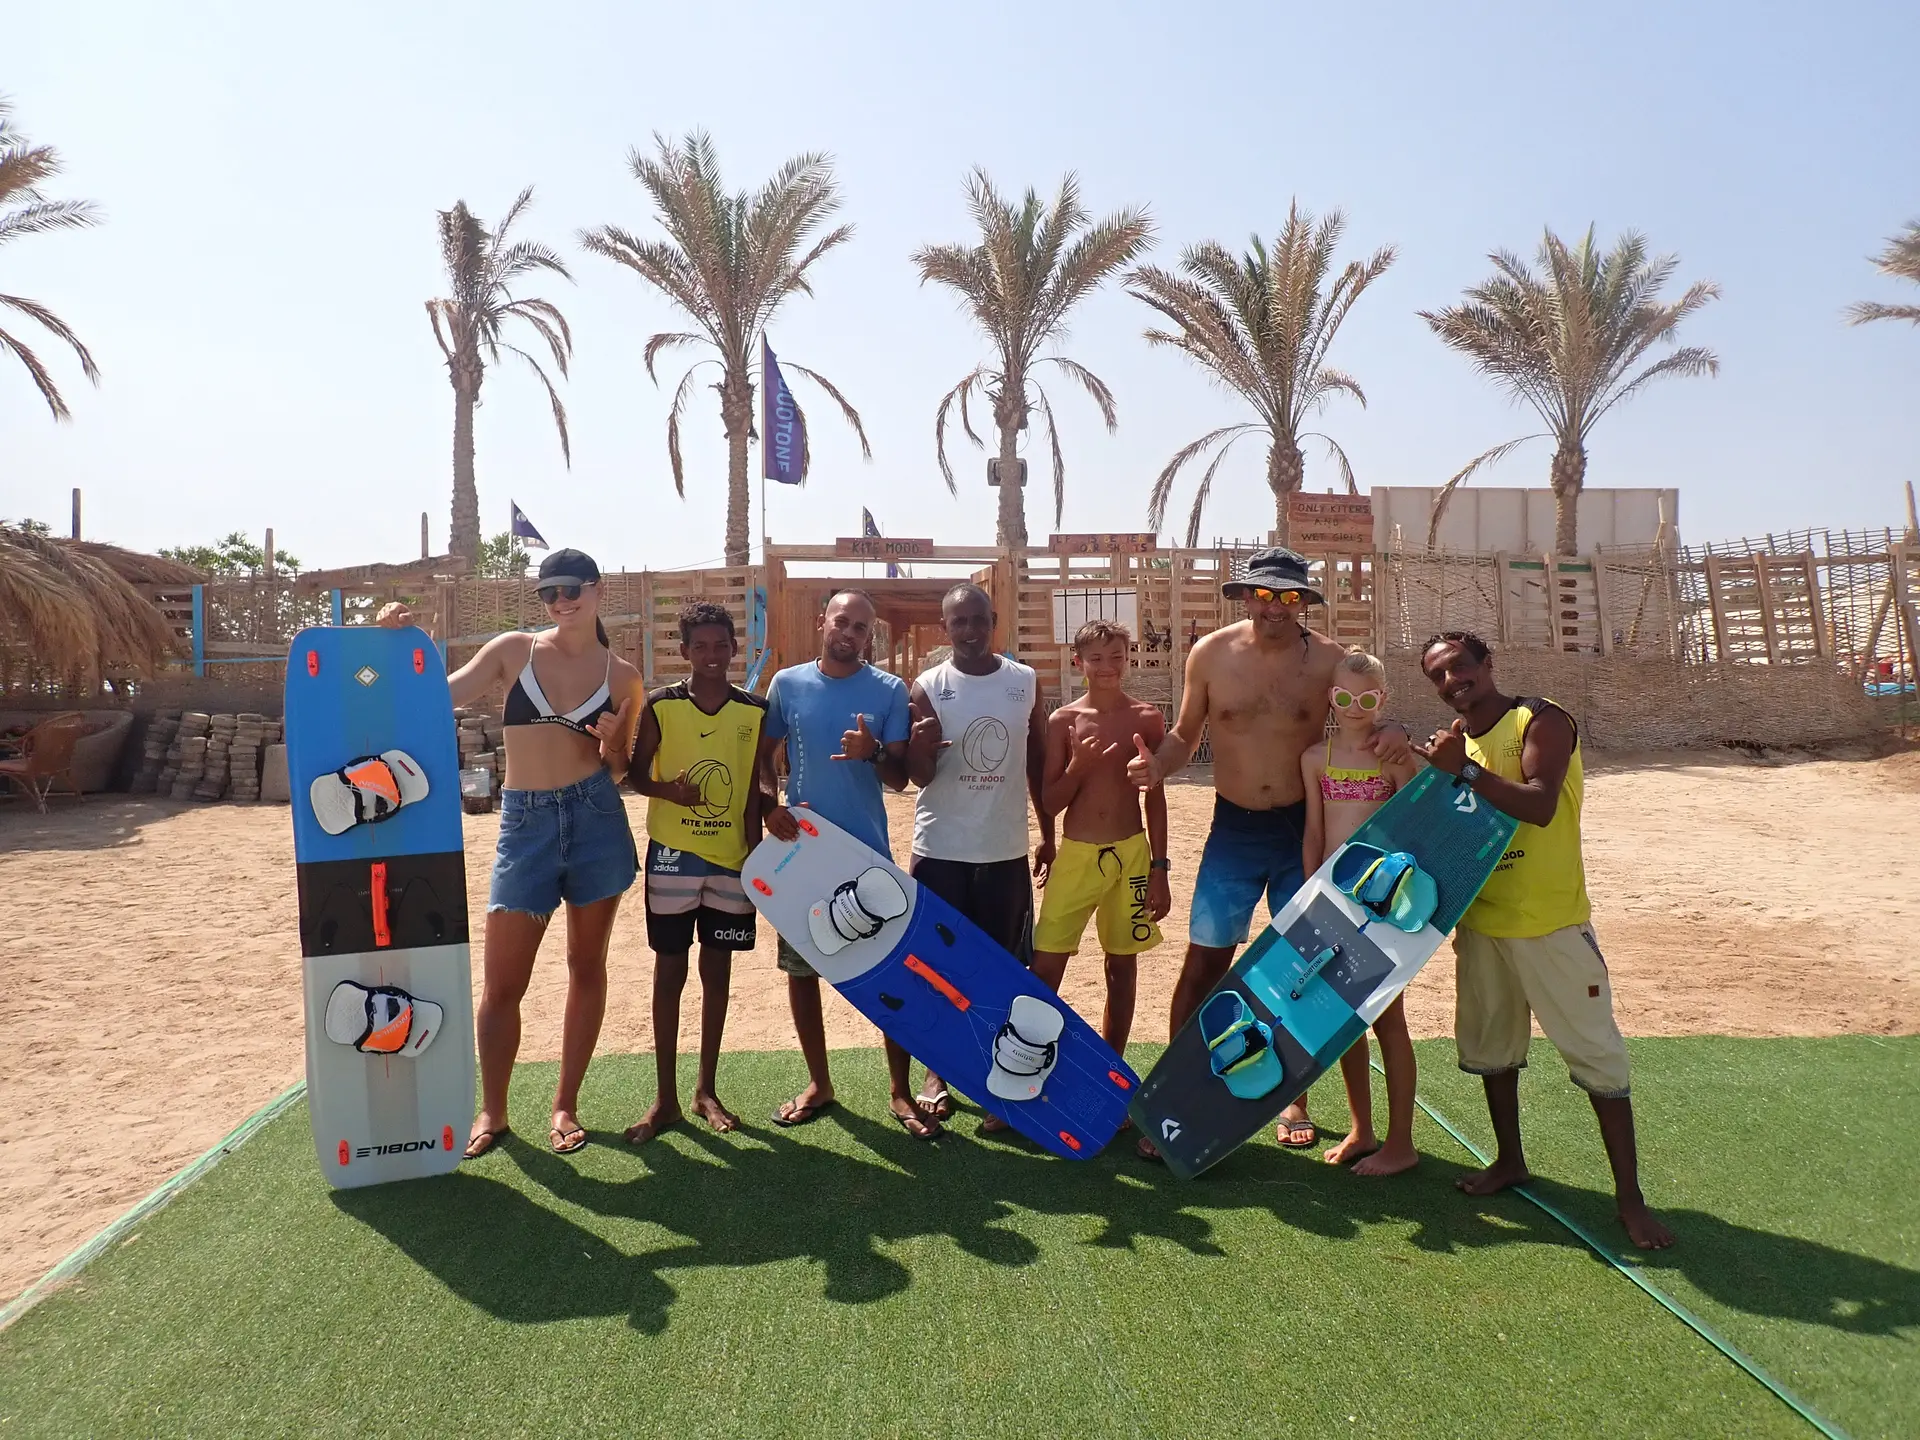
You will not need a board on day one. Lessons start with kite control, then body drag, which means using the kite's pull to travel through the water without a board. The board arrives with the waterstart, part of Level 2 and of the 8-hour beginner course.
Helmet and vest
A helmet protects your head from knocks, and a vest cushions your torso and adds some flotation. Vests vary: some are mostly padding, some mostly flotation and many combine the two, so ask what yours is designed to do.
At KiteMood, helmets and life vests are included in lessons, and supervised rental includes a vest and a helmet.
Wetsuit, rash vest and shoes
The school's advice is a long wetsuit all year, or a long suit or shorty in summer. That can sound heavy for a sea at roughly 22 to 29 °C over the year (one climate source), where one wetsuit maker's chart suggests only 1 to 2 mm. The same chart carries a caveat that may explain the school's advice: kitesurfing keeps you mostly out of the water, so more of your body is exposed to wind than when surfing.
A rash vest is a thin stretchy top, and a UV shirt is what that chart lists for the warmest water. It also covers your arms from the sun; the packing guide has the sun-protection detail.
For your feet, the school recommends shoes for beginners. The packing guide explains why.
Rent or buy?
On a holiday, rent first. The right kite depends on your weight, your level and the wind where you ride, and you cannot know all three before you have ridden.
Your options at KiteMood
| Where you are | Option | What the page says |
|---|---|---|
| Learning | Lessons | Kites, boards, harnesses, helmets, life vests, wetsuits and other gear included |
| Completed IKO Level 2, including 2I | Supervised rental | 3-hour sessions with an IKO Assistant Instructor who stays with you, boat rescue on standby, all equipment (eight kite sizes from 6 to 15 m², board, harness, vest, helmet) |
| Independent and able to ride upwind | Rental | Full quiver, kite and bar, or twintip, by the hour, day or week; deposit and rental terms apply |
| Bringing your own kit | Beach use and storage | Storage, kite inflating, washing kite gear, launch and landing help, Wi-Fi, two rescues |
If you do not have your IKO certification (the IKO Kiteboarder Card / vCard), the team gives you a short assessment before you rent. The rental page lists the options but does not spell out what each contains, the full quiver in particular, so ask exactly what comes with each before you book. Rusty after a break? The refresher course is for riders who are up and riding but want a refresh before renting.
When buying starts to make sense
Buying makes more sense once you ride independently, know which kite sizes you actually fly where you ride, and expect to ride often enough to use the kit. This guide names no brands and quotes no prices, because both change; try kit by renting it first. If you fly with your own, check the airline's rules for sports equipment, as this guide gives no limits, and see the packing guide.
Check your kit before every session
Level 1 teaches pre-flight and in-flight checks of the equipment and settings. This is the kit inspection, for rented gear and your own. The rest of the launch routine (wind, space, assistant and signals) is in the safety rules guide. Where your instructor's routine or the manual differs, follow them.
- Lines: slide them through your fingers and look for knots, wear or damage.
- Kite: look over the fabric and the inflated tube for damage, and check it is properly inflated.
- Bar and hook: look for sand, cracks or damage on the bar, chicken loop and harness hook, and fasten your harness and helmet.
- Quick release: trigger it and reassemble it as the maker describes. Manufacturers advise testing it before every launch.
- Leash: check it is connected the way your instructor showed you.
If anything looks damaged or feels wrong, do not launch. Tell your instructor or the beach team.
Looking after kit in sun, salt and sand
This is general manufacturer advice, and your kit's manual overrules it. At KiteMood, the beach use service covers washing kite gear and storing equipment if you bring your own.
- Rinse after salt water. Makers advise rinsing the safety system with fresh water to flush out sand, and the same habit suits the bar, lines and kite.
- Dry before you pack. Let everything dry in the shade before you roll the kite up.
- Keep it out of the sun. Strong sun wears fabric, lines and plastic parts over time. The school calls July and August extremely hot, and one climate source gives a mean daily maximum of about 35 to 36 °C, so keep kit in the shade when you are not riding, and check your manual before leaving an inflated kite in direct sun.
- Inspect, then ask. Look over lines, bar and release after each session. For repairs or replacement, ask a repair shop or the manufacturer, because lifespans vary and this guide gives no intervals.


